How to install Minecraft on the Steam Deck
Complete guides for both Java and Bedrock editions

I haven’t seen A Minecraft Movie and don’t intend to, but the wretched ubiquity of its promotional materials did at least remind me that I’ve never done a guide on how to install Minecraft on the Steam Deck. Quite the oversight, given that unlike Jason Momoa’s wig, I actually like those things. Time to rectify, then, with step-by-step guides on how to get both Minecraft’s Java and Bedrock editions up and running on the standard Deck and/or Steam Deck OLED.
If I had to recommend one of the two editions, it would be – as on desktops – the original Java. While this needs a little extra TLC to get its controls in order, it’s still the familiar, endlessly moddable Minecraft we’ve been playing for the best part of two decades. Playing Bedrock on a Steam Deck is doable as well, though since Microsoft has so thoroughly locked down the Windows version, your first step will actually be buying an Android copy from the Google Play Store. There’s no major difference on features between Windows and mobile, though having to burn cash on a separate version might sting, especially if you’ve been playing Bedrock Edition on PC using Game Pass.
(I did look into the possibility of simply streaming the Game Pass version via Xbox Cloud Gaming, but Microsoft have made it unavailable, the dastards.)
The better news is that for Java and Bedrock alike, there’s no need to go digging particularly deep into your Steam Deck’s file directories, as some non-Steam software demands. All the tools you’ll need are easily grabbable in the Deck’s Desktop Mode, and they can be operated just with the right trackpad and onscreen keyboard. Still, this kind of installation is always easier with physical peripherals, so hook up a docking station with a mouse and keyboard to fly through these steps with minimal fiddling.
To be more specific, we’ll be leaning on the Prism Launcher for Minecraft Java and the appropriately-named Minecraft Bedrock Launcher for... the other one. They’re a little like Lutris in that they streamline the download and installation of apps that don’t inherently get on with SteamOS, just with the laser-focus of enabling a single, blocky survival game. Read on or click the shortcuts below to get started.
How to install Minecraft Java on the Steam Deck
The OG Minecraft arguably has even less business running on a Steam Deck than the Bedrock edition, considering it’s built on a programming language that predates the steam engine and looks upon concepts like "thumbsticks" and "face buttons" with repulsed terror. No matter – follow these steps and you’ll not only install Minecraft Java on your Steam Deck, but take advantage of the Deck’s Steam Input talents to add a functioning set of controls.
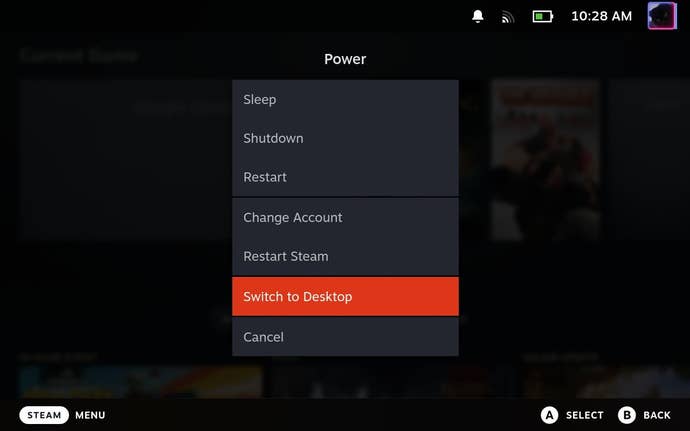
Step 1: Hold down the Steam Deck’s power button and select "Switch to Desktop".
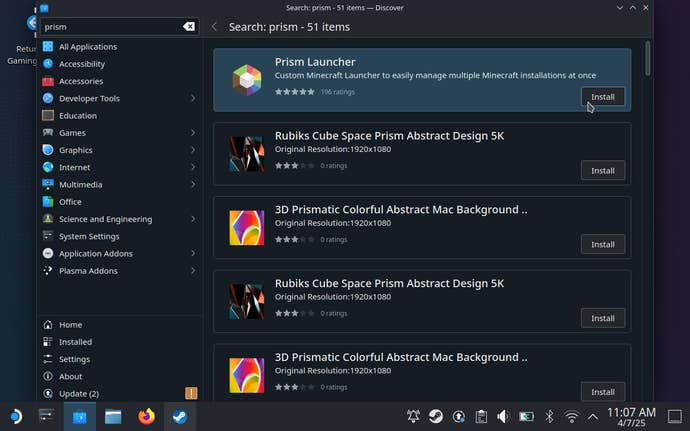
Step 2. Once you’re in Desktop Mode, open Discover (click the blue suitcase, or shopping bag, or whatever it is in the tasbar), search for Prism Launcher. Click "Install" once it shows up in the results.
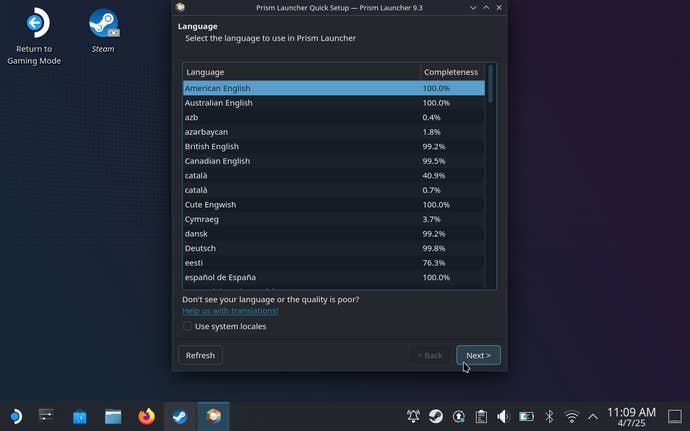
Step 3: Launch Prism Launcher, select a language, and click "Next".
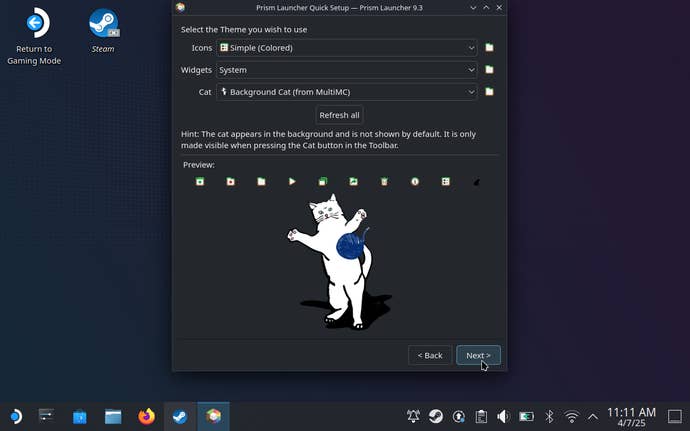
Step 4: Choose your theme settings – it’s fine to leave everything on the defaults – and click "Next".
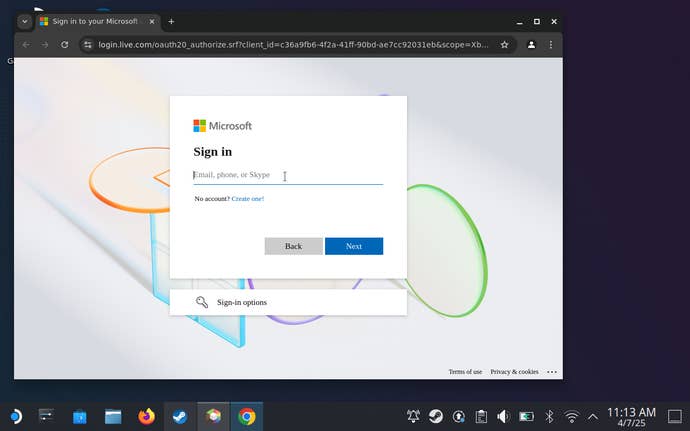
Step 5: On the next screen, you’ll need to sign into the Microsoft account that you use to play Minecraft elsewhere. Click "Add Microsoft Account" and log in, either via the browser link, or by scanning the QR code and entering the security code. If you choose the latter, you’ll obviously need to be logged into your Microsoft account on your phone as well. Once signed in on your Deck, grant Prism Launcher access to your account.
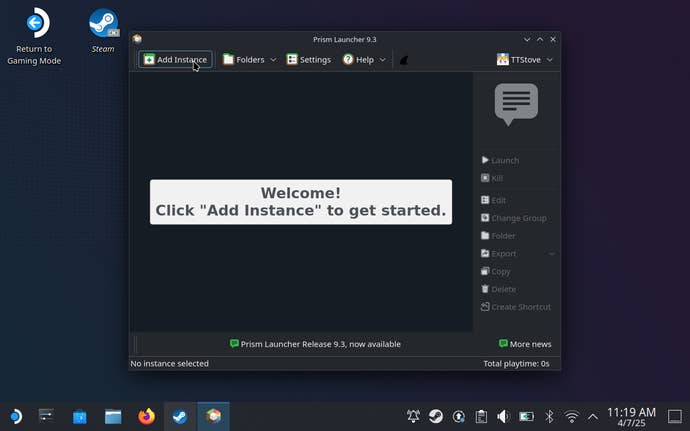
Step 6: You should now be inside Prism Launcher proper. As it says, your next step is to click "Add Instance" up in the top-left corner.
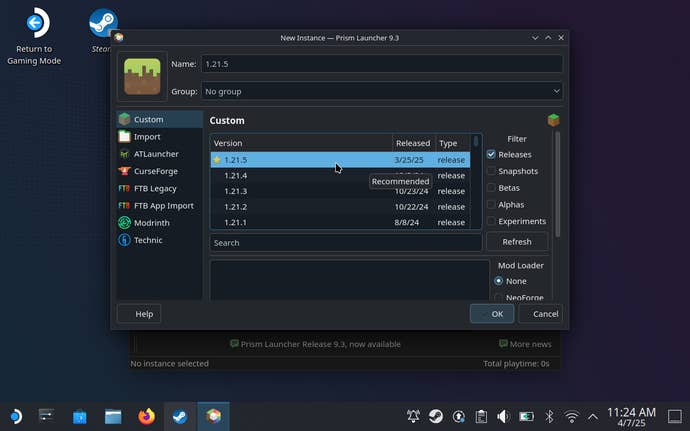
Step 7: In the main central pane, you’ll see a list of Minecraft Java versions that Prism Launcher can install. There are also filters on the right that will let you choose from snapshots and experimental versions, and even old alpha and beta builds, but for now let’s just select the most recent stable build.
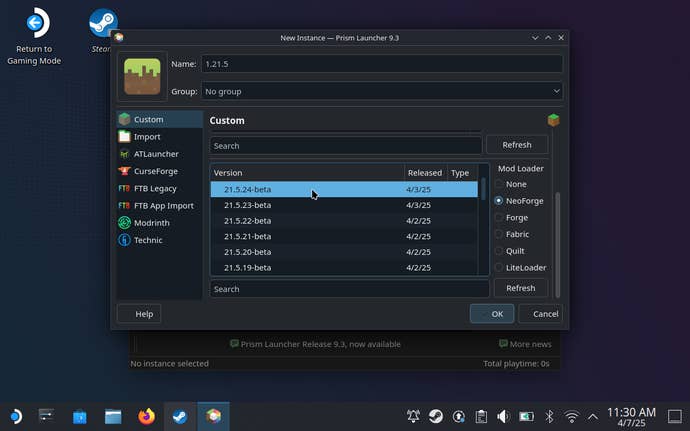
Step 8: Scroll down slightly and you’ll see the option to add a Minecraft mod loader as well. This is optional, but recommended, with both NeoForge and Fabric being especially good bets; I’m going with the latest NeoForge build in these screenshots. As with the list of Minecraft versions, click on the mod loader version you want to install.
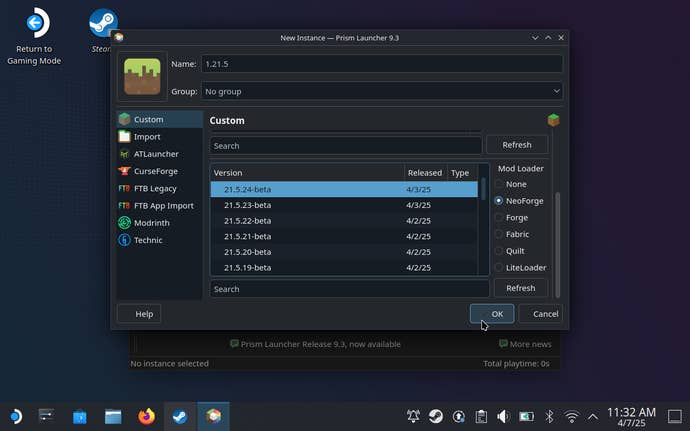
Step 9: With both your chosen Minecraft and mod loader versions selected, hit "OK".
Step 10: Back on the main screen, double-click the added instance (or click it once then hit Launch). Prism Launcher will then set about installing Minecraft, along with the mod loader if you selected one.
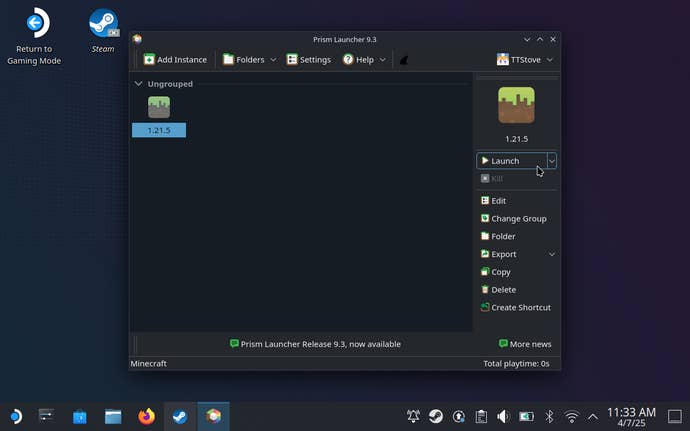
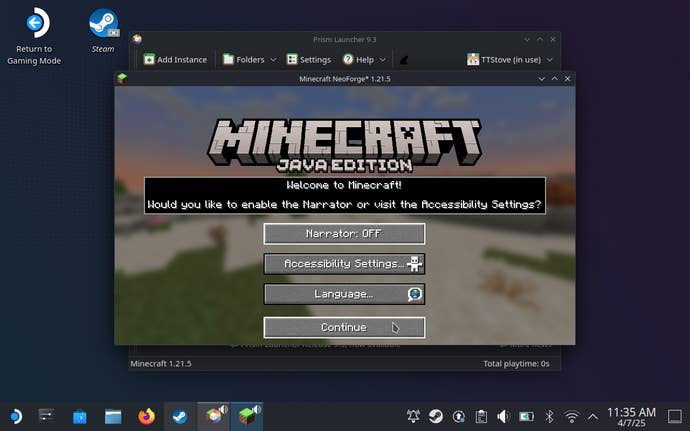
Step 11: After a few moments, Minecraft will launch. Congratulations: you have technically installed Minecraft on your Steam Deck. But! It won’t be playable yet, as Minecraft Java lacks proper controller support, which the Steam Deck needs. Let’s sort this out next, while simultaneously making it possible to use Prism Launcher directly from the Deck’s default Gaming Mode.
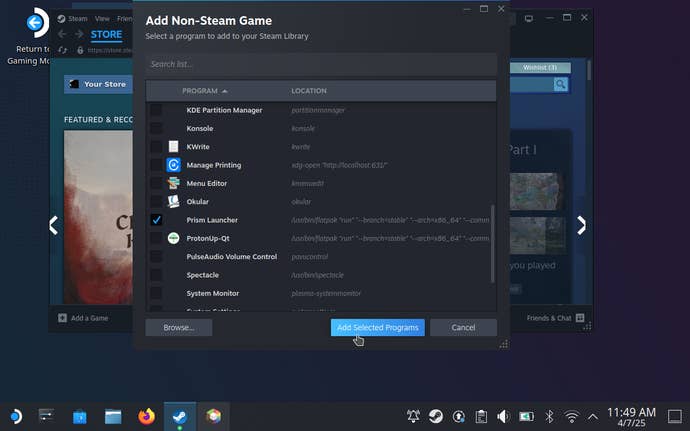
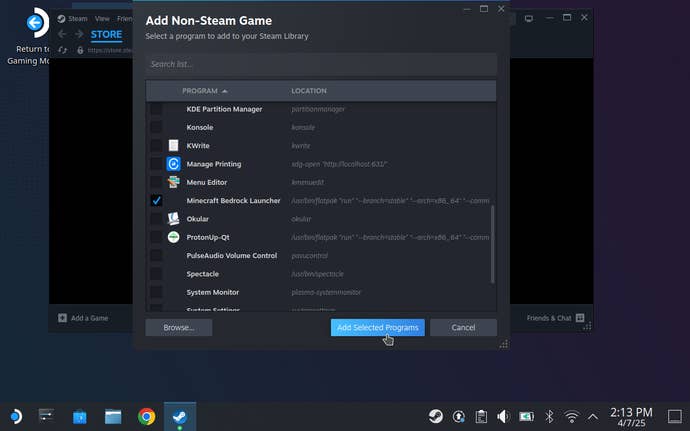
Step 12: While still in Desktop Mode, open Steam, click "Games" at the top and select "Add a Non-Steam Game to My Library". Scroll through the list of your installed apps and you should find Prism Launcher – click on it, then click the "Add Selected Programs" button.
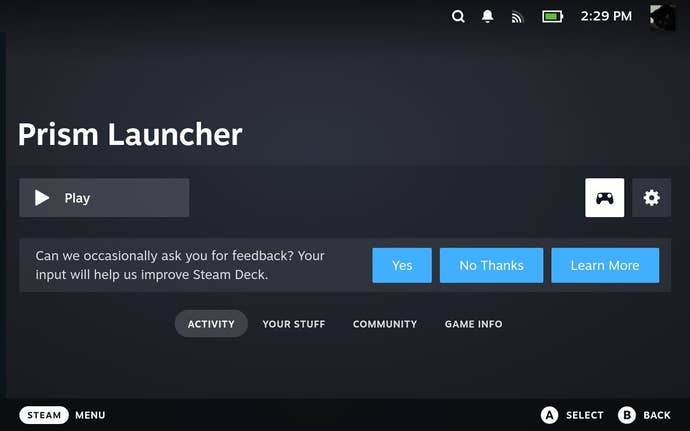
Step 13: Restart your Steam Deck to boot back into Gaming Mode. You can now find Prism Launcher in your Steam Library, under the Non-Steam tab. Select it, but don’t launch it yet. Instead, select the controller icon on the right to open up Controller Settings.
Step 14: Tap on or select the Current Button Layout selection, which should read "Gamepad with Joystick Trackpad" by default. Tap R1 to view the community layout options, then scroll down and select the "Minecraft (Prism Launcher) – Steam Controller" layout by Terminations. Once it’s downloaded, tap the X button to apply it.
Step 15: Finally, fire up Prism Launcher and use it to launch Minecraft – as in Desktop Mode, you can double-click/tap or use the Launch button to play your installed version. Now you’re finished.
Don’t skip the part about adding Prism Launcher as a non-Steam game; besides saving you the trouble of having to swap into Desktop Mode every time you want play Minecraft on your Steam Deck, it lets Steam Input step in to fill the void of the Java edition’s missing controller support. You could add this via mods instead – Controllable, for instance – but it’s just easier to let Steam handle everything. You can still customise inputs via the same Controller Settings page, and are less likely bump into the potential compatibility problems that mods may have if they don’t immediately work with new versions of the game.

How to install Minecraft Bedrock on the Steam Deck
Bedrock is designed to be a more polished (and lightly modernised) counterpart to Minecraft Java, and thus comes with controller support ready to go. That’s good for the Steam Deck – or it would be, if Microsoft didn’t have such an iron grip on the Windows build that it’s one of the few games that’s outright impossible to get running on Valve’s handheld. The Android version, on the other hand, can work here, and is largely identical to the Windows build, outside of a lack of VR support and the ability import or export worlds.
It's therefore the Android version that you’ll need to own before starting this guide, regardless of whether you already have access to Minecraft Bedrock through a PC Game Pass subscription. Don’t be fooled by it being named Minecraft: Play with Friends on the Play Store, either, as this is indeed the Bedrock edition. Annoying? Maybe a little. Confusing? Not if you follow these steps.
Step 1: Open Desktop Mode by holding down the power button and selecting "Switch to Desktop".
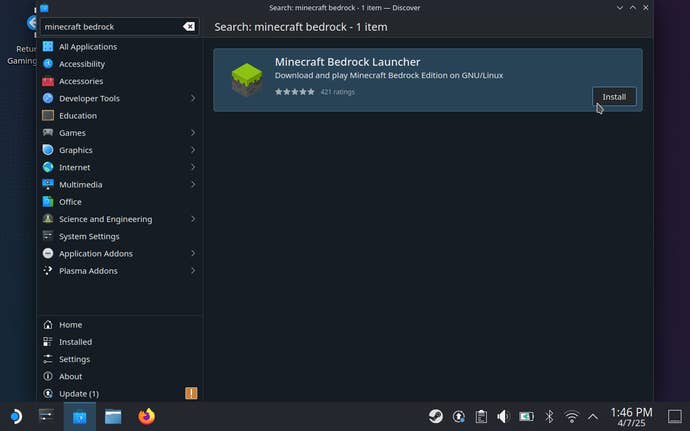
Step 2: Open the Discover app, then search it for Minecraft Bedrock Launcher. Install it once it appears in the search results.
Step 3: Open the launcher and click "Continue".

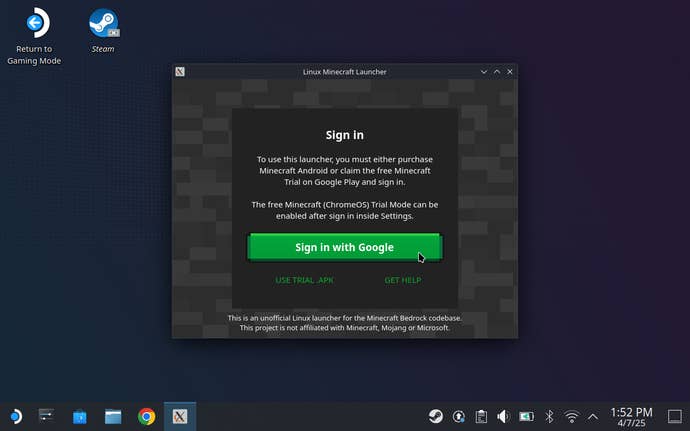
Step 4: Click "Sign in with Google" and, y’know, do that. This should be the Google account that you already own Minecraft Bedrock/Play with Friends on, having bought it from the Google Play Store.
Once you’ve punched your credentials in via the browser window, you can optionally type in an additional password to use with this launcher – or, if you don’t want to, you can leave the password field blank. Either way, hit "Save and complete Login".
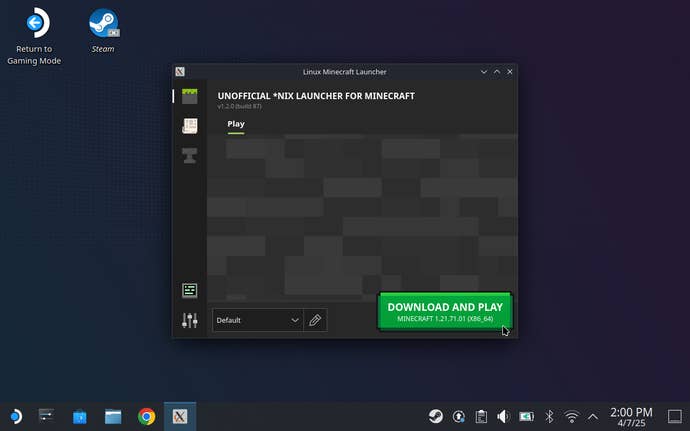
Step 5: Click that big, green, enticing "Download and Play" button. Within moments, Minecraft will download and install itself onto your Steam Deck.
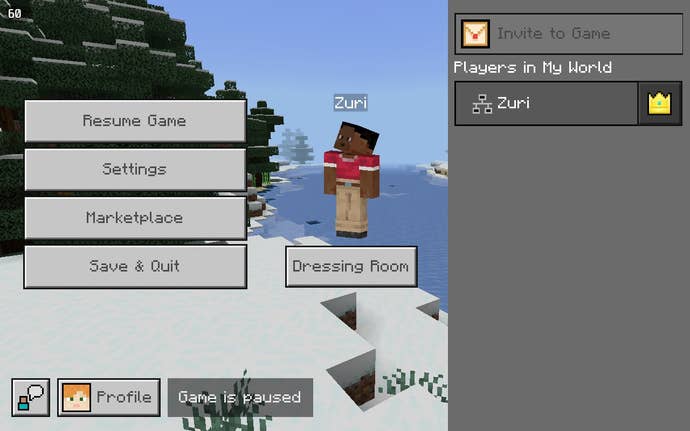
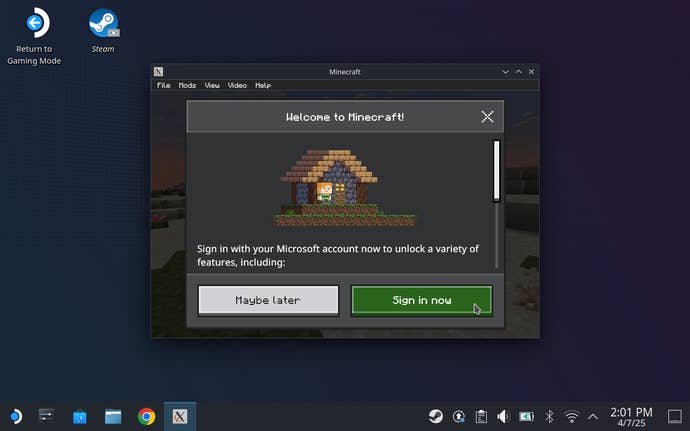
Step 6: If you want access to Realms, Profiles and Bedrock Edition’s Marketplace, click "Sign in now" and log into a Microsoft account. To just play solo, you can simply click "Maybe later" and get into the game immediately.
Step 7: Close Minecraft – yes, this sounds counterintuitive, but bear with me – and open up Steam. Click "Games", then "Add a Non-Steam Game to My Library", and then select Minecraft Bedrock Launcher from the list of apps. Click "Add Selected Programs" to stick the launcher in your game library, making it (and thus Minecraft) easily accessible from the Deck’s Gaming Mode.
Step 8: Restart your Steam Deck. Back in Gaming Mode, you can now launch the Bedrock Launcher from the Non-Steam section of your Steam library. No need to faff around with community controller settings here, thanks to Bedrock’s built-in controller support.

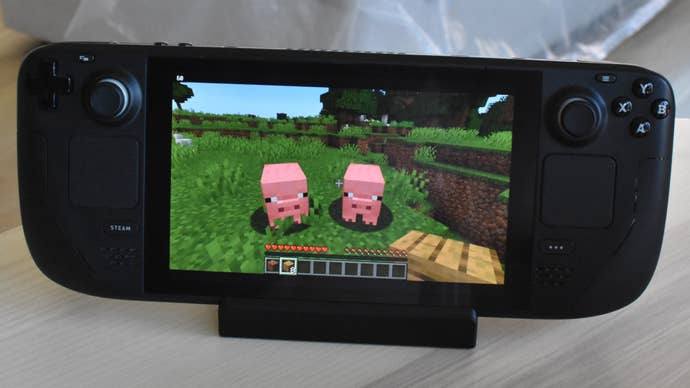
Step 9: You’re almost good to go, except by default, Minecraft Bedrock won’t make full use of the Steam Deck’s display space. Amend this by tapping "Video" at the top of the screen, making sure the full 1280x800 resolution setting it checked, then tapping "Toggle Fullscreen".
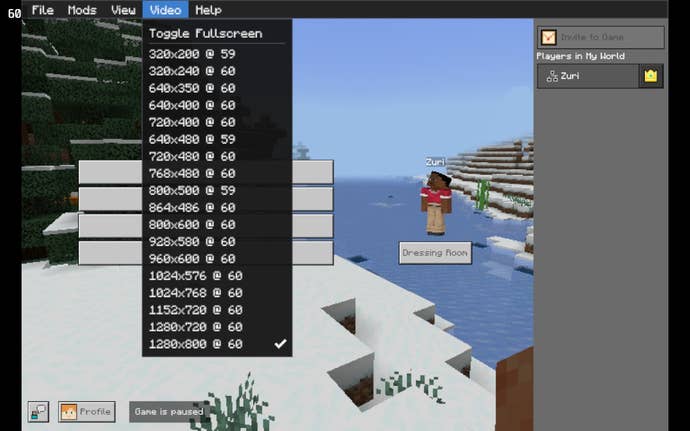
Ahh, that’s better.