Monster Hunter Wilds: Chapter 1-2 walkthrough
Prepare for the Monster Hunter Wilds Chapter 1-2 using our guide to learn a new monster.

Not sure how to complete Chapter 1-2 in Monster Hunter Wilds? This chapter introduces three main missions, giving your hunter the chance to learn more about the Base Camp and the many characters within it.
As you interact with friendly faces, you'll unlock new services like upgrading your armour and weapons, while the Training Area will also become available for practising weapons and combos. When you're finally ready, you'll explore the Windward Plains a bit before fighting a new monster.

Our walkthrough hub links to every Monster Hunter Wilds chapter guide. You can also get to each Chapter 1 guide via the below links:
- Chapter 1-1
- Chapter 1-2
- Chapter 1-3
- Chapter 1-4
- Chapter 1-5
Back to Camp walkthrough
Back to Camp objectives
- Talk to your Guildmates 0/3
- Optional: Talk to Nata
- Optional: Head to the Training Area
- Enter the Expedition Command tent
- Enter your tent
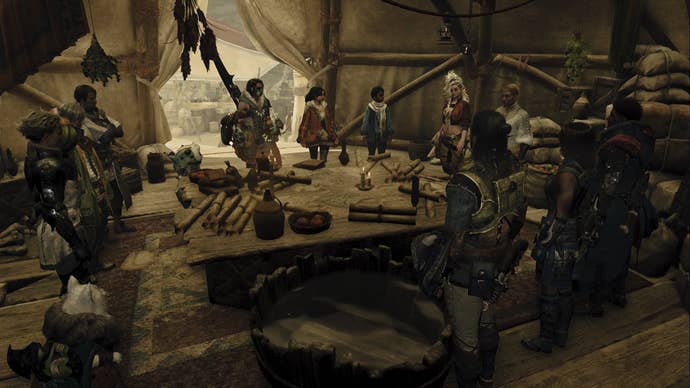
The first main mission for Chapter 1-2 revolves around learning about the Base Camp. Follow the objective and speak with Olivia, Jack, and Gemma. After speaking with Olivia, you'll unlock a second optional objective to check out the Training Area. You can quickly complete this alongside the optional objective to speak with Nata.
You'll spend most of your time talking with Gemma since the game gives you a run-through of how forging and upgrading gear works. However, your options are limited for now since you've only fought the Chatacabra.

Once you've completed the objectives, make your way to the Expedition Command tent. This triggers a cutscene discussing Nata's village, the White Wraith monster, and escorting Y'sai and Nona to their village. Once the cutscene ends, enter your tent and a new but very short main mission will start as you exit.
The Beginning walkthrough
The Beginning objectives
- Talk to Alma
This main mission is one of many extremely short ones you'll encounter that only have a single objective. You'd almost not realize it exists if you didn't check the mission list. All you have to do is speak with Alma to complete The Beginning.
Village of Whispering Winds walkthrough
Village of Whispering Winds objectives
- Follow Y'sai
- Optional: Observe the monsters 0/3
- Gather honey for Provisions 0/3
- Follow Y'sai
- Follow Alma
- Slay the Bulaqchi
- Return to Base Camp
- Talk to Jack the Provisions Manager
- Talk to Gemma
- Finish your preparations and talk to Alma
- Head towards the SOS Flare
- Hunt the Quematrice
- Optional: Use a Paratoad
- Optional: Use a Vine Trap
- Talk to Ferdinand the Researcher
- Talk to Tom at the Ingredient Center
- Talk to Y'sai
- Optional: Talk to Nata
- Optional: Talk to Alma
- Follow Y'sai
- Talk to Elder Ela
- Talk to the woman tending the fire
- Talk to Y'sai
Collect Honey For Provisions
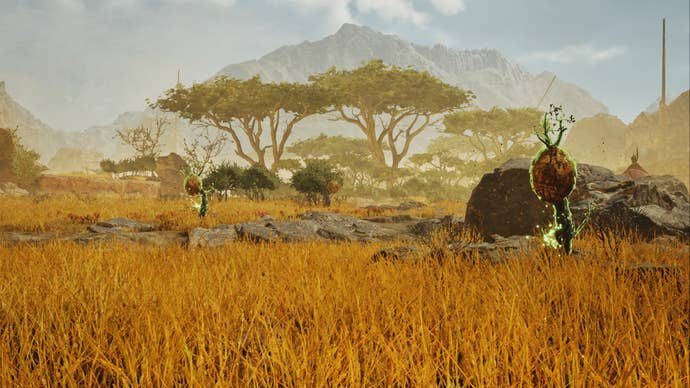
Before escorting Y'sai and Nona back to their village, you'll make a detour to collect honey. Similar to the Monster Hunter Wilds intro, you're along for the ride as you follow Y'sai. Watch for an optional objective where you can observe different small monsters.
Soon after, you'll come across the honey you need. You can either grab it using your slinger or by running up to each beehive. Once you grab from at least three beehives, you can follow Y'sai to his village. Unfortunately, you'll lose the luxury of travelling by Seikret upon arriving.
Now you'll need to follow Alma back to Base Camp but you'll run into a little action on the way. You'll get a chance to fight some small monsters, the Bulaqchi. Afterwards, you can continue returning to Base Camp. Then, speak to Jack and you'll unlock a shop to buy and sell items.
Jack will also give you new gadgets to play with like your Capture Net. While you won't use it for capturing monsters, you can use it to capture small endemic life like Dung Beetles or Flashflies. Once you've finished talking to each character for your objectives, it's back out into the wild.
Prepare for the Quematrice fight
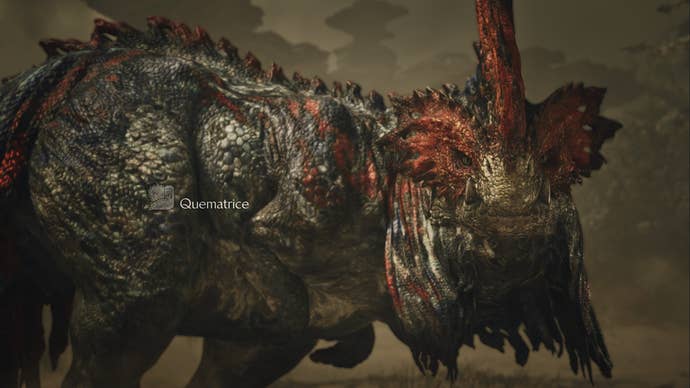
It's time to chase down an SOS Flare to see if it's the Support Team that Base Camp has been waiting for. Which leads to a monster fight with the Quematrice. Following the objectives, you can use a nearby Vine Trap hanging from a tree to trap it. And check the minimap for Paratoads to stun the Quematrice. You can either hit them from faraway or up close, but make sure to get out of the way so they don't stun you.
Fighting the Quematrice introduces the Fireblight status effect. This deals damage to you over time but you can quickly remove it using a Nulberry. Otherwise, you'll have to dodge roll a lot. When the Quematrice isn't trying to peck at you with its beak, it has many tail attacks that will enflame nearby flammable material.
With a monster like this, you'll mostly aim for their legs. Depending on your weapon, you may have an easier time aiming for its neck which is its weak point. But, don't be surprised if you get caught off guard by tail attacks. While you can see them coming, it's sometimes difficult to predict which way they'll hit from.
Once you've slain the Quematrice, you'll teleport back to Base Camp for a cutscene. This is where you get your own Seikret and a special saddle to carry a second weapon on them. Afterwards, you can speak with Ferdinand to unlock the Monster Field Guide and Tom at the Ingredient Center.
Head to Y'sai's Village
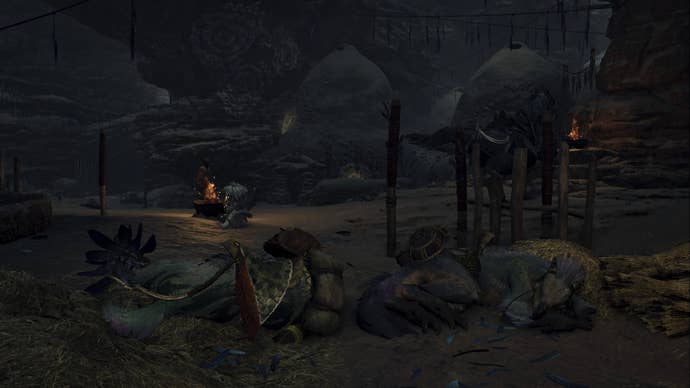
When you're ready to leave after speaking with everyone, talk to Y'sai for a ride to Kunafa, Windsong Village. There are two more characters to speak with here before getting back to the action. If you're not sure where they are, you can open your map to check. And finally, after speaking with Y'sai one more time, a cutscene will trigger ending both the Village of Whispering Winds main mission and Chapter 1-2.
Continue our Monster Hunter Wilds walkthrough by checking out Chapter 1-3 to explore a whole new area. Or if you'd prefer, return to the walkthrough hub for more guides.
← Back to Chapter 1.1 Walkthrough
→ Continue to Chapter 1.3 Walkthrough