Monster Hunter Wilds: Chapter 3-3 walkthrough
Escape the frigid underground to a new region in Chapter 3-3


Unsure of where to go or having trouble in Monster Hunter Wilds' Chapter 3-3? Use our walkthrough to uncover a new region, village, and monsters to learn about.
You'll also find one of the most important characters in the Monster Hunter franchise in this sub-chapter, so read on to learn exactly who - or what - we're referring to.

Our walkthrough hub links to every Monster Hunter Wilds chapter guide. You can also get to each Chapter 3 guide via the below links:
- Chapter 3-1
- Chapter 3-2
- Chapter 3-3
- Chapter 3-4
- Chapter 3-5
Through the Dusk walkthrough
Through the Dusk objectives
- Search for the Allhearken
- Optional: Talk to the villagers
- Talk to Vio the Melder
- Go to dinner
- Optional: Talk to your Guildmates 0/4
- Talk to the Allhearken
Moving on from the Jin Dahaad fight, we're headed to Suju to find the Allhearken. Get ready to see giant people, pointy ears, four-fingered hands, and a new village. It's time to meet the Wyverians! After entering the village, you'll get an optional objective to talk to the villagers.
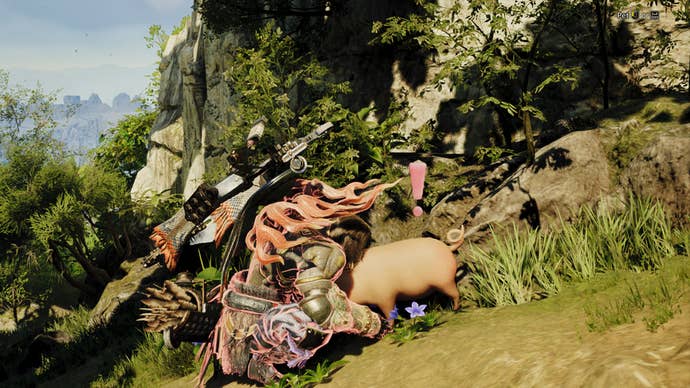
Explore to meet new people and find the beloved Poogie. While you may not be able to pet a dog in Monster Hunter Wilds, you can certainly pet the Poogie. All you have to do is interact with them, click to pet, and then click once the pink exclamation mark appears. You'll even get a free item if you time it right.
Aside from the most important task of petting Poogie, follow the objectives to meet people, unlock Vio the Melder, and have a feast. For those unfamiliar, melding is a way to crush decorations and other items to make new ones. After having a feast and speaking with the Allhearken, you'll end up back in Sild, the Keepers' village.
A Path Forward walkthrough
A Path Forward objectives
- Talk to Tasheen
This is one of those short main missions that Monster Hunter Wilds has a bunch of. Simply speak with Tasheen and you'll be on your way to the next mission. This doesn't immediately put you into any hunts. Therefore, you'll still have time to prepare.
Full Circle walkthrough
Full Circle objectives
- Head to the campsite
- Set out to investigate
- Slay the Guardian Ebony Odogaren
- Hunt the Xu Wu
After speaking with Tasheen, follow Alma and Gemma to a new campsite location in the Ruins of Wyveria. Once you reach the campsite, upgrade your gear and prepare for the next fight. You'll need Nulberries and anything that can remove Bleeding. Rations should work fine. As far as elemental damage goes, you'll need Ice and Water, which means you can either bring two weapons or not overthink it.
Once you've finished preparing and resupplying, hop on your Seikret to investigate. You don't have to travel far to start your next hunt.
Tips for the Guardian Ebony Odogaron fight
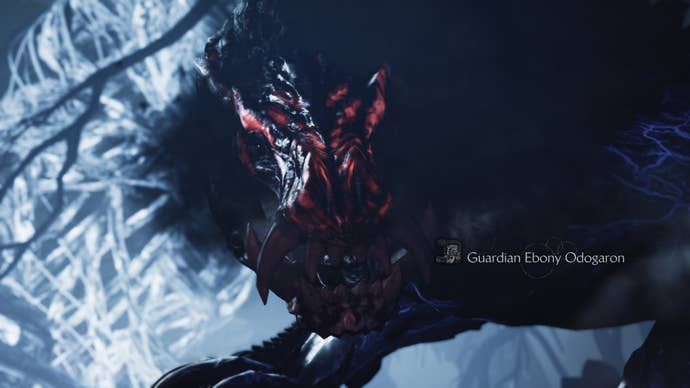
The Guardian Ebony Odogaron is annoying due to how mobile they are. Even when you create gaps they'll close that distance quickly. This can make it difficult if you're playing alone or constantly have their attention. The Odogaron's mobility often forces you to fight them head-on.
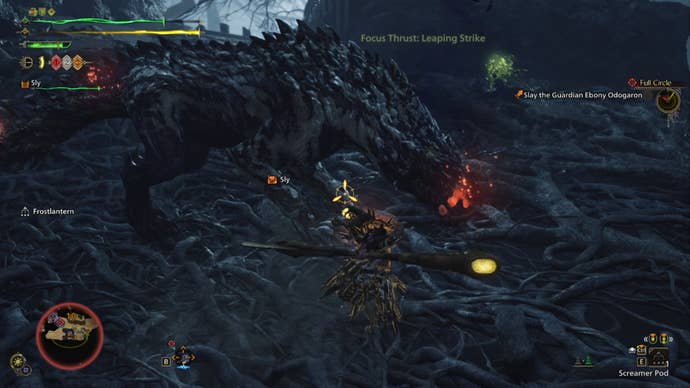
The good thing about fighting them head-on is that you can hit their forelegs as a weak point. Unlike the Doshaguma, you'll quickly create wounds. As long as you prioritise destroying those, you'll stun the Odogaron frequently. Then, you can deal damage and open more wounds. For this fight, you'll want to use Ice damage if you have it.
Similar to other guardian monsters, the Odogaron creates crystal walls that both of you can blow up. Use any elemental slinger ammo you can find to blow them up before the Odogaron does. Another familiar guardian behaviour is how they have a loud audible cue for an incoming attack.
In addition to this, a common movement the Odogaron does to telegraph attacks is moving backwards before charging forward. They do this with a variety of attacks, but you'll begin to notice the warning regardless.
A trick to take advantage of is using traps under Entangled Rocks. Due to the Odogaron's speed, you can place a trap under a boulder to catch them. After the Odogaron escapes to zone 10, you may notice an area covered in tree roots. This also has a set of Entangled Rocks you can drop. But, the cool trick here is that the tree roots function as a fragile floor.
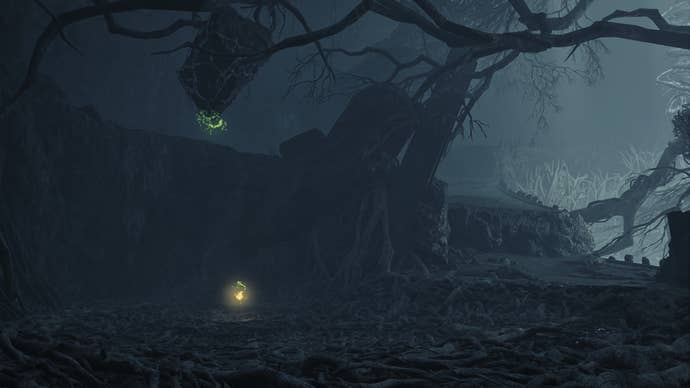
The Entangled Rocks will drop the Odogaron into the roots, temporarily trapping it. You can repeatedly use the roots if you wound the Odogaron here. This is a fun spot I love to use when fighting any monsters in the Ruins of Wyveria.
Once you've slain the Guardian Ebony Odogaron, you'll learn why you needed two elements. Moving on from your win, you'll have to immediately fight the Xu Wu monster. This one is weaker to Water damage.
Tips for the Xu Wu fight

The Xu Wu is another tentacle creature similar to the Nu Udra. You're in for another agile fight where you'll wonder where to strike. Fortunately, almost every part of this monster is either severable or breakable.
Despite the Xu Wu's agility, they will occasionally do an overhead attack that gets them temporarily stuck. It's not obvious that they're stuck, but they won't do anything for a moment. This is a great time to pummel in on them and deal damage. Otherwise, you'll have to frequently chase Xu Wu as they use their tentacles to get around.
Aside from using traps, you may notice Vespoid insects as Xu Wu flees elsewhere. You can either use Brightmoss to lure nearby Vespoids or use their broken stingers. Either way, paralysis is always great for slowing down a fight.

The one nice thing about Xu, unlike many Monster Hunter Wilds monsters, is they don't apply any status effects. With that said, if you ever see them invert their body and charge at you with their creepy mouth, get ready. According to an in-game tip, you can topple them with a powerful blow during this attack.
Once you've finished hunting Xu Wu, you'll have completed Chapter 3-3 and the Full Circle main mission. Continue onto the Chapter 3-4 Monster Hunter Wilds walkthrough for more help. Or you can return to the walkthrough hub for many of our guides.
← Back to Chapter 3.2 Walkthrough
→ Continue to Chapter 3.4 Walkthrough