Monster Hunter Wilds: Chapter 5-2 walkthrough
Return to the previous zones for some action in Chapter 5-2

Struggling with Chapter 5-2 in Monster Hunter Wilds and need some help? Use our walkthrough for every main mission throughout this long sub-chapter. You'll also encounter many monsters you've once fought before and a new one too.
Chapter 5-2 finishes strong with a tough fight and a new status effect as well. Continue reading for what Hunter Rank you need to make progress.

Our walkthrough hub links to every Monster Hunter Wilds chapter guide. You can also get to each Chapter 5 guide via the below links:
- Chapter 5-1
- Chapter 5-2
- Chapter 5-3
The Root Cause walkthrough
The Root Cause objectives
- Investigate the regions and raise your HR
To complete The Root Cause main mission you'll need to grind until you reach Hunter Rank 34. Once you've done so, Alma will talk to you and guide you toward the next objective in A Torrent of Energy.
A Torrent of Energy walkthrough
A Torrent of Energy objectives
- Talk to Olivia at the Ruins of Wyveria
Head to the Ruins of Wyveria Base Camp to speak with Olivia and kickstart a large chain of objectives. In a discussion with Fabius, we learn the Frenzy Virus is indeed here. To learn more about how the Dragontorch is influencing the Forbidden Lands, we have to investigate several regions further. But don't worry, we're not grinding more Hunter Ranks quite yet.
A World Turned Upside Down walkthrough
A World Turned Upside Down objectives
- Head to the Windward Plains Base Camp
- Talk to Alma
- Head to Kunafa
- Slay the Rey Dau
- Head to the Scarlet Forest Base Camp
- Talk to Sassafrill
- Slay the Uth Duna
- Optional: Use the Endemic Life
- Head to the Oilwell Basin Base Camp
- Talk to Maki
- Slay the Nu Udra
- Talk to Fabius in the Iceshard Cliffs (1)
- Talk to Fabius in the Iceshard Cliffs (2)
- Slay the Gore Magala
- Slay the Frenzied Blangonga
A World Turned Upside Down sends us to four regions: Windward Plains, Scarlet Forest, Oilwell Basin, Iceshard Cliffs. We have to visit the first three before the Iceshard Cliffs, but you can do them in any order. This Monster Hunter Wilds walkthrough proceeds in the following order. Click on any of them to jump to that section.
Head to the Windward Plains Base Camp

Upon reaching the Windward Plains Base Camp, your objective will update to speak with Alma. Take this moment to prepare for your next hunt. We're throwing it back to Chapter 2-2 giving Rey Dau another go. Bring Nulberries, a Pitfall Trap, Flash Pods, and any other useful items for buffing your stats. Also, Rey Dau is vulnerable to the Water and Ice elements.
Once you're ready, talk to Alma and make your way to the Kunafa village. You'll find Y'sai and Zatoh before heading to the Rey Dau fight.
Tips for the Rey Dau fight
As I've done in previous late-game guides, I'll run through a list of quick tips for this fight. If you want the slightly more in-depth walkthrough you can check Chapter 2-2. This is when we first fought Rey Dau.
- I often recommend creeping up with your Ghillie Mantle to get a sneak attack in.
- The first area you find Rey Dau has Sharp Crystal Pillars you can drop onto them. These do a large amount of damage and will stun too.
- You can use Flash Pods to knock Rey Dau out of the air.
- Rey Dau telegraphs many attacks by showing a static electricity area on the floor where they're about to zap.
- They have a flying attack where they ride their wing along the ground in a straight line towards you. If they're enraged, they'll usually do it twice.
- When chasing Rey Dau to different areas, you can try setting up more sneak attacks or explosive barrels.
- Rey Dau's mouth becomes a wound point after many ranged electric attacks.
- They can slam their wing onto you when attacking their side. Similar to many Monster Hunter Wilds monsters, they'll raise their arm with a short delay before slamming down.
Slaying the Rey Dau completes this portion of A World Turned Upside Down leading into a cutscene back at Kunafa. It's time to see who we're fighting next in the Scarlet Forest.
Head to the Scarlet Forest Base Camp
Your objective will update to speaking with Sassafrill but you should upgrade your gear before doing so if you need to. After talking to Sassafrill, you can still interact with your tent, but you won't be able to speak with Gemma here. For preparation, you'll need Nulberries, traps, Flash Pods, and items to buff your stats. Don't forget to eat as well if you don't have an active food buff.
For those who like to bring the right weapon element, the next monster is vulnerable to Thunder. When ready, talk to Sassafril to journey into the next fight. Once the conversation ends, it becomes clear we're returning to fight the Uth Duna.
Tips for the Uth Duna fight
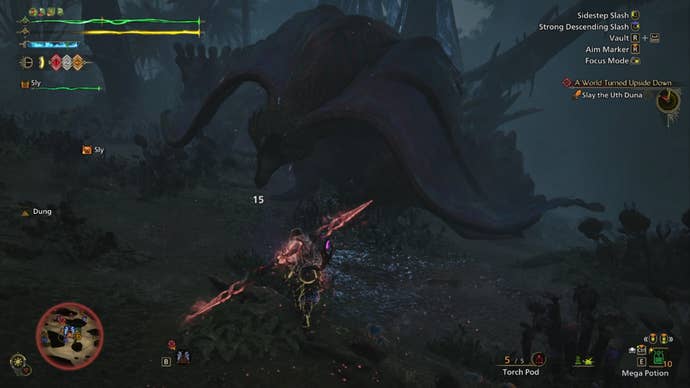
The first time we fought Uth Duna was only a repel fight, so this time we're in it for real. Our original guide is back in Chapter 1-5. Here are the quick tips that you need to know.
- Uth Duna has a protective veil that makes it harder to deal damage while also protecting breakable parts such as their head, tail, and forelegs. Once the veil is gone, however, they'll speed up.
- One particularlu deadly attack to avoid is a giant belly flop similar to a whale.
- Certain attacks like the belly flop are slow enough that you'll have a chance to dodge or run away. Another slow attack is charging through the air before falling onto you.
- Always look to your environment for useful hazards, healing bugs, and rocks you can drop onto Uth Duna. Sleeptoads are especially great for setting up explosive barrels.
- Focusing their head works well to avoid hitting the veil, but it's a dangerous position.
- You can strafe away from waves or dodge through them.
- Traps are useful for slowing down the fight or catching Uth Duna during a mid-air slam.
Slaying the Uth Duna completes the Scarlet Forest portion of A World Turned Upside Down. After a cutscene with the Wudwuds, we make our way to the Oilwell Basin.
Head to the Oilwell Basin Base Camp
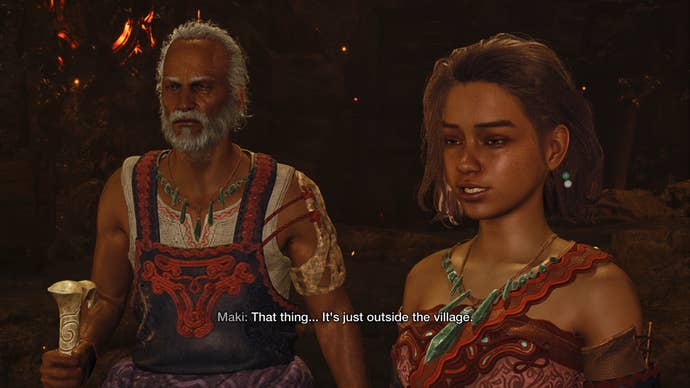
Once you arrive at the Base Camp, your objective will update to speak with Maki. Before doing so, do the usual preparation, like upgrading your gear and resupplying. You'll need Nulberries, traps, Cool Drinks, and items to buff your stats. This monster is vulnerable to the Water element.
Speaking with Maki reveals that the Nu Udra, formerly known as The Black Flame, is acting differently. Unfortunately, they're right outside Azuz and need to be dealt with. Fortunately for us, we don't have to run far to get into a fight.
Tips for the Nu Udra fight
We first fought Nu Udra when they were known as The Black Flame back in Chapter 2-4. Get ready for another bizarre tentacle creature fight using these quick tips.
- Using your Ghillie Mantle you can likely pull off an early sneak attack.
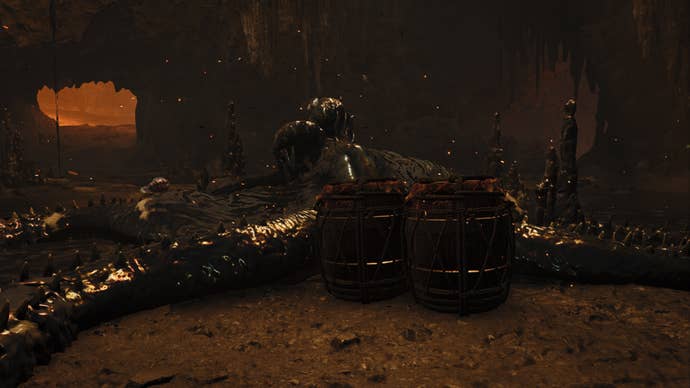
- Nu Udra starts in zone 4 where The Ancient Forge is. You can pull on the handle above it to make a large plate push out dealing massive damage. Be careful using it when Nu Udra isn't near the plate.
- Similar to The Ancient Forge, use your environment for other tricks too. Blast Toads work for damage while Watermoss can extinguish Nu Udra's inflamed limbs.
- My favourite Nu Udra attack is a large flame breath at the ground where you can hit them from behind. They're vulnerable for a long time during this attack.
- If the camera zooms out when Nu Udra does a spin and rises upward, they're about to fling a bunch of flaming balls into the air. These balls are easier to dodge from far away.
- Nu Udra's tentacles are severable. Alongside this, their head is breakable and their mouth is a weak point.
- A fun but not efficient strategy is to circle Nu Udra while attacking from your Seikret. I did this more for proof of concept, but I didn't get hit for surprisingly long.
Slaying the Nu Udra finishes the third portion of A World Turned Upside Down. We're not quite done yet as a new objective sends us to the Iceshard Cliffs.
Talk to Fabius in the Iceshard Cliffs

Meeting with Fabius shows he has his armour on and is ready to join the fight. That should tell you we're in for a big one. After speaking with him once, you'll have a chance to prepare before talking to him again. Once you've finished upgrading your gear, grab Nulberries, Hot Drinks, Cleanser, traps, Flash Pods, and the usual items for buffing.
This fight has two monsters, so you'll want to bring either a Fire or Thunder elemental weapon if you do. Each one is vulnerable to those two elements, while only one of them is vulnerable to Dragon. When you're finished preparing, speak with Fabius to jump into the next hunt. Continue reading to find tips for both monsters in their own section.
Tips for the Gore Magala fight
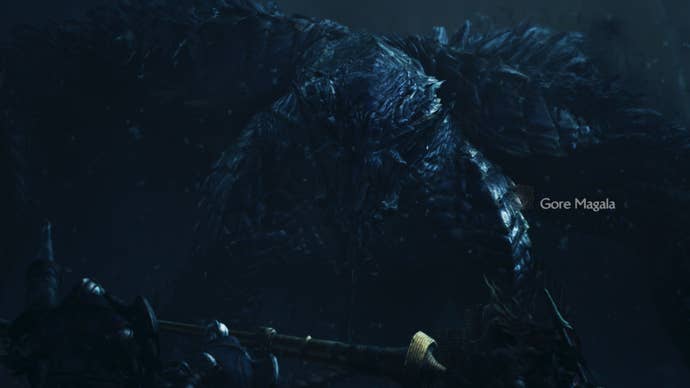
This fight introduces the status effect Frenzy that prevents natural healing and makes you take more damage. Attacking will prevent it from building up once it's on you. Otherwise, you can use Nulberries to remove it.
Shortly into your encounter, a Frenzied Blangonga will appear, but they'll run away. If you want to speed this up, you can hit them with a Dung Pod. Then, work with Fabius to slay the Gore Magala before chasing the Blangonga.
A good position while fighting Gore Magala is underneath them. You can hit a good portion of their body while avoiding Frenzy projectiles. However, Gore Magala can still hit you with certain attacks like charging forward. If they're flying, you may have some trouble dealing damage and unfortunately, they're not vulnerable to Flash Pods.

When Gore Magala is on the ground, you can use Shock and Pitfall Traps to stun them. These are a good way to open wounds so you can stun Gore Magla by breaking them. Similar to other monsters, Gore Magla has an enraged state but they'll instead become Frenzied. When this occurs, they'll glow pink and have a pink antenna on their head that you can break. While it won't be easy, damaging their head can end their Frenzy. Other breakable parts include their wings.
In addition to those parts, their mouth is a weak point and their tail is severable. When I'm not beneath Gore Magala, I usually aim for their legs from the side or their tail. But they have many basic moves where they'll hit with their claws or wings forward. Gore Magala telegraphs these attacks by pulling back before lunging forward, and some of the attacks are enhanced with Frenzy explosions.
If Gore Magala flees to zone 10, there are Floating Rubble rocks you can pull in for damage. However, they're a bit difficult to see where they're going to land. After slaying Gore Magala, get your carvings and then track down the Frenzied Blangonga.
Tips for the Frenzied Blangonga fight
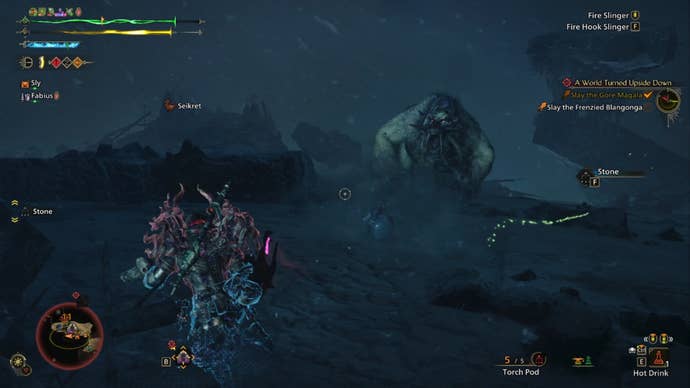
Hunts with multiple monsters typically lower their health to make the fight a little easier. While I can't confirm it here, the Frenzied Blangonga goes down fast. Depending on how scripted this mission is, if you're in zone 11, there's a Floating Rubble chunk to pull down.
That aside, the Blangonga is extremely agile, with frequent hopping and the tendency to sometimes fling themself across the zone. Depending on your weapon, you may only get to do hit-and-run attacks, which makes focusing on their rear weak point hard. But, they're vulnerable to both trap types if you still have either.
If you used your traps fighting Gore Magala, don't worry, you can open wounds quickly on the Blangonga. As it goes with any monster, break those wounds to stun them. When you're not targeting wounds, some attacks to watch for are an icy breath, lifting a rock out of the ground to throw, and little punches after hopping.
Slaying the Gore Magala and Frenzied Blangonga completes Chapter 5-2 and the main mission, A World Turned Upside Down. Continue onto the Chapter 5-3 Monster Hunter Wilds walkthrough for more grinding. Find out what Hunter Rank you'll need next. Alternatively, you can return to the walkthrough hub for many of our guides, or head to our round-up of all the weapons in Monster Hunter Wilds.
← Back to Chapter 5.1 Walkthrough
→ Continue to Chapter 5.3 Walkthrough